How to Choose a Dot Pin Marking Machine in 2026?

Choosing a Dot Pin Marking Machine in 2026 starts with the part, not the brochure. A small stainless-steel tag, a curved casting, and a painted enclosure can demand very different marking setups. The right choice depends on material, surface shape, mark size, production volume, and how easily operators can position each part. A deep, readable mark matters. So does repeatability.

Taiichi Ohno, a manufacturing engineer and Toyota Production System pioneer, is often credited with saying, “Without standards, there can be no improvement.” He was not a dot-peen marking specialist, but the principle is useful here: define what a successful mark looks like before comparing machines. Check sample marks under realistic conditions, including the actual part, fixture, and production pace. Ask about pin life, controller usability, maintenance access, and available support. Test real parts. A specification sheet alone may not reveal whether a mark stays legible after coating or fits a tight work area. This guide looks at those practical trade-offs, from portable units to automated systems, and explains which questions deserve close attention. Some details are easy to overlook. I would still treat vendor claims cautiously until a machine has marked your own components consistently.
How to Choose a Dot Pin Marking Machine in 2026?

What a Dot Pin Marking Machine Is and How It Works

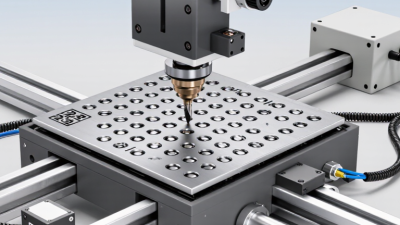
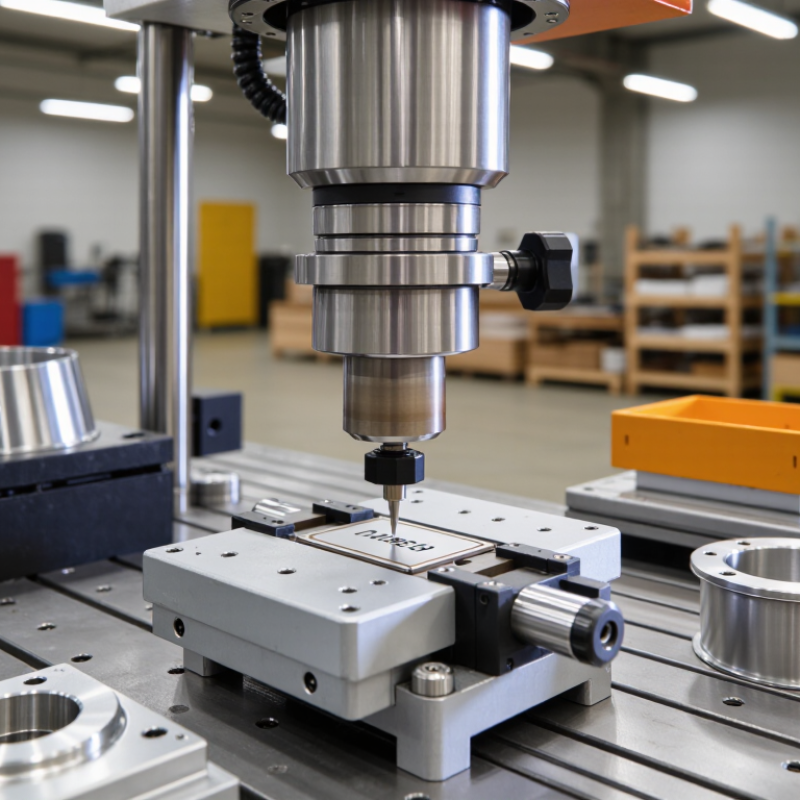
A dot pin marking machine creates a pattern of small indentations on a part’s surface. A motor-driven stylus strikes the material in controlled positions, forming letters, numbers, symbols, or codes. Unlike ink printing, the mark is made by physical contact. The result is often durable, though its visibility depends on the material and settings. That’s the basic idea.

A controller guides the pin across the marking area, while software sets the character layout and spacing. The pin’s force, speed, and movement affect the mark’s depth and clarity. Hard steel may need different settings from soft aluminum. No ink is involved. In practical use, a secure fixture matters: even slight movement can make text uneven or a code difficult to read.

The process sounds straightforward, but settings are rarely one-size-fits-all. A flat sample may mark well, while a curved part needs careful positioning and support. Small details matter. Before choosing a machine, test it on the actual material and part shape. Check whether the smallest required text remains legible, and whether the marking area fits your workpiece. A successful test is more useful than assuming a specification sheet tells the whole story.

Which Marking Requirements the Machine Must Meet

A dot pin marking machine must match the part, not just the sample plate. Define the material, surface finish, marking area, and daily volume before comparing models. Test on real parts, including curved faces and oily or coated surfaces. A polished coupon can hide problems. Check whether the mark stays readable after handling, cleaning, and normal wear. For 2D codes, specify a verification method such as ISO/IEC 29158, where applicable, and set an acceptable grade with your quality team.

The machine should control mark depth, character height, spacing, and position across repeat runs. Ask for measured results, not “high precision” claims. Also check fixture repeatability, part detection, and how quickly operators can change recipes. Small setup errors matter. A code shifted a few millimeters may fail a downstream scanner. Confirm that the controller can store approved settings and record job details if traceability is required.

Integration deserves equal attention. Deloitte and MAPI’s 2023 Smart Manufacturing Survey found that

86% of respondents viewed smart factory solutions as a competitiveness driver over the next five years.

That does not mean every marking cell needs complex software. It does mean checking communication options, data logging, and recovery after a power interruption. One detail is often missed: ask who verifies mark quality after installation. Plan that test before purchase, even if the first version feels imperfect.

How to Compare Machine Types and Key Specifications

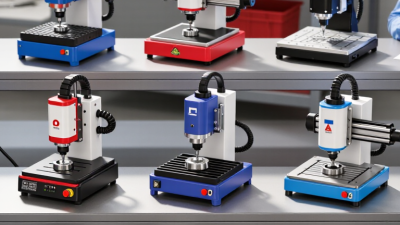
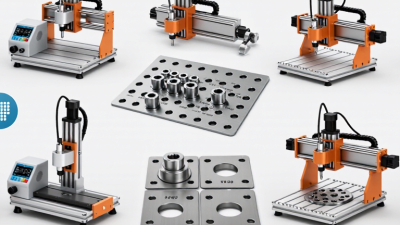
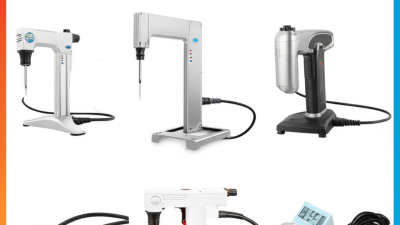
When comparing dot pin marking machine types in 2026, match the mechanism to your parts and work area. Pneumatic models can suit steady production and deep marks, but they need a compressed-air supply. Electric machines avoid that extra connection and often fit quieter workspaces. Portable units help mark large or fixed components; bench models offer a more controlled setup for smaller parts. Check the actual workpiece, not just the machine brochure.

Then compare key specifications. Marking area should cover your largest part, with room for positioning. Pin force, marking speed, and adjustable depth affect how the dots look on steel, aluminum, or coated surfaces. Ask for a sample on your own material. A crisp mark on a sample plate may look different on a curved housing. Small detail. Easy to miss.

Also check the controller, supported file formats, and how easily operators can change text or serial numbers. Consider maintenance access, replacement pin availability, and noise during a full shift. A high speed rating can be appealing, but it may matter less than repeatable results and simple setup. Specification sheets are useful, not decisive. Compare them against a real marking test, and note any trade-off you are willing to accept. A perfect match on paper is not always a perfect fit on the shop floor.

How to Choose a Dot Pin Marking Machine in 2026? - How to Compare Machine Types and Key Specifications

Comparison Dimension Portable Handheld Benchtop Column / Stand-Mounted Production-Line Integrated
Typical use Marking large, fixed, or awkwardly shaped parts that are difficult to bring to a machine. General-purpose marking of small and medium parts in a workshop or inspection area. Repeatable marking of parts positioned beneath a fixed marking head. Automated marking within a production cell or conveyor-based process.
Workpiece handling The operator positions and holds the marking head against the part; a guide or fixture can improve consistency. Parts are placed on the worktable and usually located with a fixture. Parts are placed on a table or fixture beneath the head; the column provides head adjustment. Parts are presented by a conveyor, robot, or dedicated fixture; handling is defined by the line layout.
Typical marking area Common configurations are around 100 × 30 mm to 120 × 40 mm. Often around 100 × 100 mm, with other sizes available. Common configurations range from about 100 × 100 mm to 200 × 100 mm. Specified for the application; the marking window depends on the head, mounting, and part presentation.
Typical marking method A carbide or similar stylus creates characters, codes, or simple graphics as a pattern of indented dots. Electromagnetic or pneumatic impact drives the stylus to create a dot pattern. Impact-based dot peen marking, with the part held at a controlled working distance. Impact-based dot peen marking, commonly combined with a controller, fixture, and line signals.
Marking depth Depends on material hardness, stylus force, dot spacing, and operator contact; validate on a sample part. Adjustable within the machine’s operating range; deeper marks generally require more time and suitable material. Adjustable and typically more consistent when the part is securely fixtured. Set for the application and verified against material, readability, and cycle-time requirements.
Repeatability factors Operator alignment, head contact, part curvature, and surface variation. Fixture quality, part placement, head alignment, and consistent surface height. Fixture design, column rigidity, working distance, and controlled part positioning. Fixture and sensor design, part-location control, integration setup, and process validation.
Typical connectivity Controller-based operation; confirm whether the selected configuration supports USB, Ethernet, or external I/O. Controller-based operation; interfaces vary by configuration. Controller-based operation; external I/O may be available for simple automation. Often configured with PLC or line-control signals; confirm protocol, I/O, and software compatibility.
Space and mobility Most mobile option; requires access to the part and a stable working position. Compact workstation footprint; requires a bench and space for fixtures. Requires floor or bench space for the stand and room to load parts. Requires space for the marking head, guarding, fixtures, and surrounding production equipment.
Best suited to Low-volume work, maintenance, oversized parts, or marking at multiple locations. Mixed batches, job shops, and routine marking where flexibility matters. Repeated marking of similar parts where stable positioning is important. High-throughput or traceability-focused processes with defined part presentation.
Key checks before purchase Weight, cable reach, balance, part access, guide options, and a successful sample mark. Marking window, fixture capacity, worktable size, code readability, and software needs. Column height, throat clearance, table capacity, adjustment range, and fixture design. Cycle time, line speed, I/O or protocol, guarding, changeover, and service access.

Note: Dimensions shown are common configuration ranges, not universal specifications. Actual marking area, depth, speed, connectivity, and supported materials vary by machine and setup. Confirm requirements with a sample mark on the intended workpiece before purchase.

How to Assess Software, Integration, and Safety Features

How to Choose a Dot Pin Marking Machine in 2026?

Software should make routine jobs repeatable, not merely look modern. Test the interface with an actual part drawing and a sample marking file. Check whether it supports common file formats, editable layouts, and clear controls for depth, speed, and text size. Ask how jobs are backed up and restored after a computer change. If operators need several workarounds, the software may slow production. I have seen simple setup issues consume more time than the marking itself.

Safety

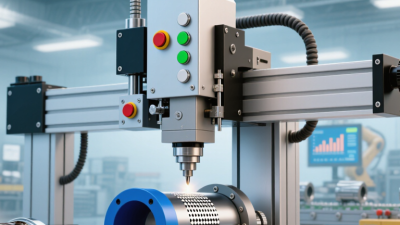
Safety deserves a hands-on review. Check for accessible emergency stops, secure fixtures, and guards that keep hands clear of moving components. Ask how the machine behaves if a guard opens or power is interrupted. Confirm that noise and airborne particles are assessed for your specific material and workspace. Document operator training and routine inspections. A checklist helps, but it cannot replace observing a full marking cycle. Don’t assume every installation is identical; layout, workload, and operator habits can change the risks.

How to Evaluate Suppliers, Service, and Total Ownership Cost

A dot pin marking machine should be judged by the support behind it, not just its quoted price. Ask suppliers for a sample mark on your actual material, using your required text, depth, and cycle time. Keep the marked part and record the settings. Then ask how quickly a technician can respond, which components are stocked locally, and what training is included. Specific answers matter. “Fast service” does not.

Build a total ownership estimate covering purchase, installation, fixtures, software, pin replacement, calibration, training, and downtime. The U.S. Department of Energy’s 2010 Operations & Maintenance Best Practices Guide estimates predictive maintenance can cut maintenance costs by 25–30% compared with reactive maintenance. That is a broad industrial benchmark, not a guaranteed saving for a marking machine. Ask suppliers what inspection schedule and service records support their uptime claims. Compare written warranty terms and response commitments, not verbal assurances. I would also test a difficult part before signing. It takes time. Yet a clean demo on an easy surface may hide setup delays, inconsistent marks, or awkward changeovers. No spreadsheet catches every interruption.

How to Choose a Dot Pin Marking Machine in 2026?

Suggested evaluation weights for comparing machines and suppliers

Use these suggested weights as a starting point, not as market statistics. Compare marking capability against your parts and production needs, assess service response and spare-parts availability, and calculate total ownership cost across purchase, setup, maintenance, and operating expenses.