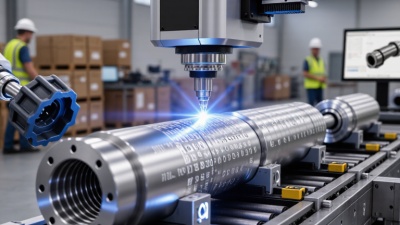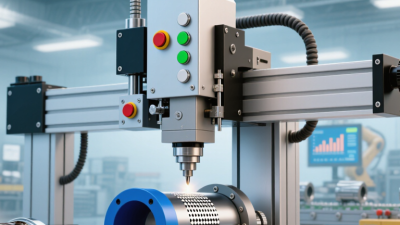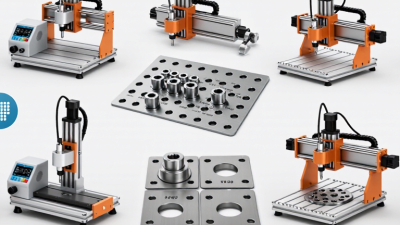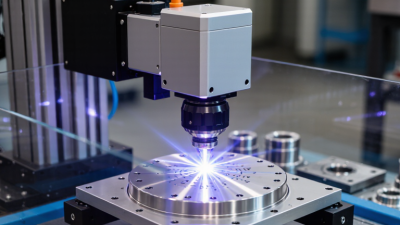
Selecting a Part Marking Machine is a production decision, not just a search for a fast laser or sturdy press. Global buyers must match the marking method to the part, material, line speed, and expected mark life. A fiber laser may suit metal housings, while dot peen can create deep, tactile marks on rough components. Inkjet systems can handle moving products, but inks and surfaces need careful testing. Small details matter. A mark that looks crisp on a sample may fade, blur, or become hard to scan after real handling.
Manufacturing-quality authority Joseph M. Juran wrote, “Quality is fitness for use.” That principle applies directly to part marking: the best result is one that remains readable where the product will actually be used. Buyers should compare cycle time, marking area, software, maintenance, operator training, and local technical support. Ask suppliers to mark your own parts, then inspect the results under realistic lighting and production conditions. Check documentation and safety features against the requirements that apply at your site. No machine is perfect for every line. A slower system may prove more dependable; a cheaper one may demand more setup than expected. This guide compares leading options and practical trade-offs, so buyers can choose with evidence, not brochure claims. One test is never enough.
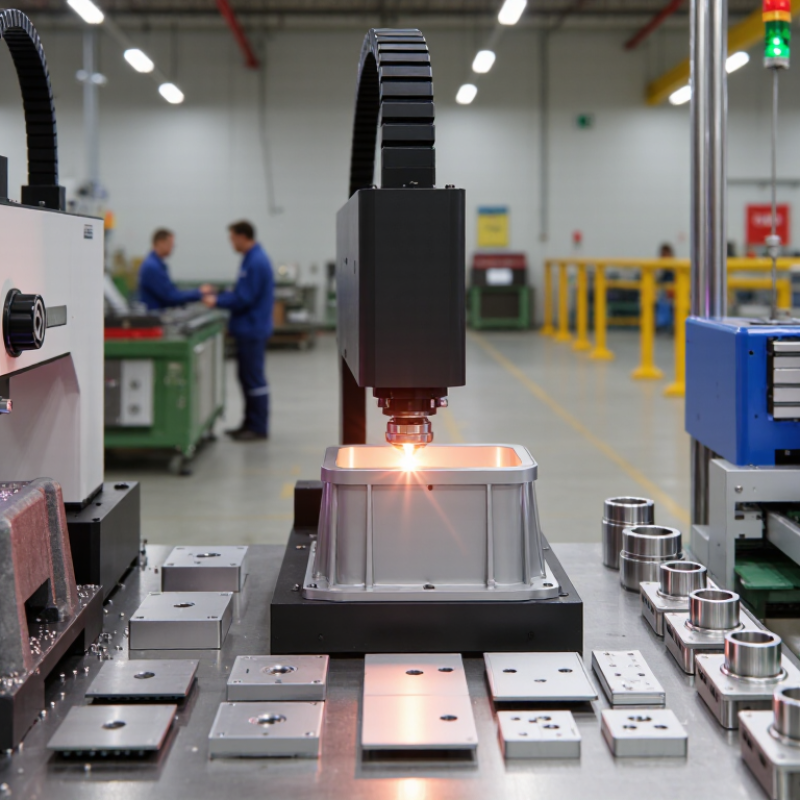
A part marking machine places readable information directly on a component, such as a serial number, date code, or data matrix. Common methods include laser marking, dot peen, and ink-based printing. Each works differently: a laser changes the surface, a pin creates small indentations, and ink deposits a visible layer. The right method depends on the part’s material, finish, shape, and expected use. A mark that looks clear on a flat steel sample may be harder to read on a curved or coated component.
In a typical setup, an operator loads the part into a fixture and selects a marking layout. The machine positions the marking head, applies the pattern, and may verify the result with a camera or scanner. Stable fixturing matters. Even slight movement can distort a code or shift text toward an edge. Settings also need care: excessive laser energy may discolor or damage a surface, while insufficient energy can produce a faint mark. Small details count. In practice, setup takes adjustment, and the first sample should be checked under realistic lighting and handling conditions.
Tips: Test on the actual material and finish. Confirm code readability after cleaning or coating, if those steps follow marking. Keep a sample for comparison; it helps reveal gradual changes in depth, contrast, or alignment.
Across industries, part marking technology must match the material, surface, and production pace. Laser marking uses focused energy to create durable codes on many metals and selected plastics. It produces no ink residue, but reflective finishes and heat-sensitive parts may need testing. A small sample run can reveal contrast problems before full production.
Dot peen machines press a carbide or diamond stylus into a surface, forming readable characters and codes. They suit rugged metal components, though their marks can be less consistent on thin parts. Inkjet systems apply fast-drying fluid without contact, making them useful on moving products and packaging. Humidity, dust, and coating changes can affect results.
Small details matter.
Scribing tools drag a stylus across metal for quieter, continuous lines, while thermal transfer systems print labels or flexible films. The right choice depends on traceability needs, cleaning conditions, line speed, and the available maintenance skills. In practice, the cleanest-looking mark is not always the most durable.
Trade-offs matter.
Testing the actual part, including after handling or finishing, helps buyers compare legibility and wear rather than relying only on machine specifications.
Part marking machines use different methods, and the right choice depends on material, part shape, and production pace. Laser systems create precise marks on many metals and plastics, with little physical contact. They suit fine text, codes, and small graphics. Results vary by material and surface finish, so test representative parts before choosing a setup. A polished metal surface can behave differently from a rough one.
Dot peen machines press a pattern of small dots into a surface. They are often considered for durable identification on metal components, including parts with curved surfaces. The marks are tactile, but impact can be unsuitable for thin or delicate pieces. Scribing machines use a driven stylus to form continuous lines. They can produce clear characters with less impact, though fixturing and part geometry still matter. Small details may take longer.
Inkjet systems apply marks without touching the part, which helps with fragile or moving products. Ink choice, drying time, and surface cleanliness need attention. Electrochemical marking can create a permanent mark on conductive metals using a stencil and marking solution; it is less suited to nonconductive materials. Not every method fits every shop. Compare sample quality, cycle time, maintenance, and operator training. A practical trial often reveals a mismatch that a specification sheet misses.
Choosing a part-marking machine starts with the part, not the brochure. A crisp mark on flat steel may blur on a curved housing or coated surface. Ask suppliers to test your actual materials, finishes, and smallest characters. Keep samples and inspect them under shop lighting and after routine handling. Useful performance measures include cycle time, positioning repeatability, mark contrast, and depth where required. Test at your real production pace, not during a quiet demonstration. A fast cycle means little if fixtures slow loading. Small detail, big difference. No single test captures every shift.
Ownership cost includes more than the purchase price. Compare installation, extraction needs, fixtures, software setup, training, energy use, and scheduled maintenance. Request a list of wear parts and realistic replacement intervals. Then estimate downtime: a low-cost machine can become expensive when a specialist part takes weeks to arrive. For global sites, verify power compatibility, documentation language, support hours, and local service coverage before ordering. These details are easy to overlook. Ask for a multi-year cost model, but treat it as an estimate; workload and material changes can shift the figures. I would question any comparison that uses different test parts or excludes setup time. The figures look tidy. Production rarely is.
Choosing a marking system begins with the part, not the machine. Identify the material, surface finish, shape, and available marking area. A deep mark may suit a rough metal component, while a fine code may need a smoother surface. Small curved parts can be awkward to position, so check how they will be held during marking.
Match the marking method to the production environment. Consider required mark depth, contrast, cycle time, and whether parts arrive clean or oily. A line marking thousands of identical pieces has different needs from a workshop handling frequent job changes. Measure the actual cycle, including loading and inspection. Do not rely only on a machine’s advertised speed.
Test representative parts before choosing. Include different finishes and the smallest details your operators must read. Check marks after cleaning, coating, or other downstream processes. It is easy to overlook fixtures, ventilation, software setup, and maintenance access in a neat specification sheet. Those details can shape daily output. Ask how quickly settings can be changed and whether operators can verify marks without slowing the line. A perfect sample is not enough. Compare test results with production conditions, and record any compromises that remain.
| Marking System | Best-Suited Materials | Mark Characteristics | Typical Production Fit | Part and Setup Considerations | Key Selection Trade-Off |
|---|---|---|---|---|---|
| Fiber laser | Many metals, including stainless steel, aluminum, brass, and some coated metals; certain plastics depending on formulation | Permanent, high-contrast marks can include text, serial numbers, barcodes, and graphics. The result depends on material, surface finish, and settings. | Well suited to repeatable marking in automated or high-volume production. | Check the required marking area, part height, fixture access, enclosure, and integration needs. Bare-metal results vary by alloy and finish. | Fast and low in marking consumables, but requires laser safety controls and may not produce the preferred contrast on every material. |
| CO₂ laser | Many nonmetals, such as wood, paper, cardboard, glass, and some plastics; some coated metals can be marked by removing or altering the coating. | Can engrave, ablate, or change the surface appearance. Results differ substantially between material types. | Useful for packaging, labels, and nonmetal components, including production lines where the material is compatible. | Confirm compatibility with the exact material and any coating. Fume extraction may be needed, and some materials are unsuitable for laser processing. | Effective on many nonmetals, but generally not the first choice for direct marking of bare metals. |
| UV laser | Selected plastics, glass, and other materials that benefit from lower-heat marking; compatibility must be tested on the specific grade. | Can create fine, high-contrast marks with a comparatively small heat-affected area on suitable materials. | Appropriate for detailed codes and marks on small parts or heat-sensitive components when validated samples meet requirements. | Test the actual material, color, surface finish, and mark durability. Fine features may require stable part positioning. | Offers material-sensitive marking options, but equipment and consumable costs can be higher than for some alternatives. |
| Dot peen | Metals and other materials hard enough to retain a mechanical indentation, subject to machine and stylus limits. | Forms characters and codes from a pattern of indented dots; the mark is tactile and can remain legible after surface treatments. | Commonly considered for durable identification of parts in manufacturing, vehicle components, and heavy equipment. | Part must be securely supported. Surface curvature, hardness, access, and the desired mark depth affect the result. | Creates a durable mechanical mark without ink, but is relatively noisy and can be less suitable for thin or delicate parts. |
| Scribing | Many metals and other materials that can be mechanically scratched by the selected stylus. | Produces continuous, engraved-looking lines rather than a pattern of separate dots. | Useful when readable, continuous characters are preferred and production pace allows mechanical contact marking. | Requires stable clamping and suitable access for the stylus. Check surface hardness, part geometry, and acceptable contact force. | Often quieter than dot peen and can produce smooth characters, but it contacts the part and may be unsuitable for delicate surfaces. |
| Continuous inkjet (CIJ) | Many nonporous materials, including plastics, metals, and glass, when paired with a compatible ink. | Applies ink-based text, codes, or graphics; permanence and contrast depend on the ink, substrate, and curing or drying conditions. | Designed for in-line coding on moving products and production lines. | Consider line speed, throw distance, surface orientation, ink compatibility, drying time, and maintenance access. | Can mark moving products without contact, but requires ink and regular attention to fluid handling and printhead upkeep. |
| Thermal inkjet (TIJ) | Paper, cardboard, labels, and selected coated or nonporous surfaces with compatible cartridges. | Prints characters and codes from ink droplets; print quality depends on the cartridge, substrate, and operating conditions. | Suitable for packaging and product coding, particularly where a compact, straightforward printer is useful. | Check print distance, surface speed, cartridge life, code content, and whether the ink dries reliably on the substrate. | Simple to deploy for many coding tasks, but cartridge replacement and substrate compatibility affect running cost and reliability. |
| Electrochemical marking | Electrically conductive metals, commonly used where a shallow surface mark is acceptable. | Uses an electrical current, electrolyte, and stencil to create a localized mark; appearance may be dark or etched depending on the process. | Useful for identification tasks with moderate volumes, including marking flat or accessible metal surfaces. | Requires a suitable stencil and electrolyte, plus a compatible conductive surface. Consider mark size, cleaning, and process handling. | Can create a clear mark without deep engraving, but stencil handling and process consumables make it less suited to some highly automated lines. |
Selection note: These are general process characteristics, not guaranteed machine specifications. Validate samples using the actual part material, surface finish, required code, production speed, and environmental conditions before purchasing.